


16 Gallon Transit Van Undercarriage Water Tank TR-UC-16
$299.00
Fast & Free Shipping in Continental US
In Stock · Ready for Shipment
Made in the USA
TEI Tested & Listed / RVIA Approved


DESCRIPTION
- Fits Transit Van undercarriage Passenger side slider door area.
- Tank will also fit Driver side.
- Fits Transit Trail with Factory Running Boards
- Tank can be used for fresh or grey water
- 16 Gallon Tank
- Tank is designed not to be pressurised (I.e. Needs to be vented).
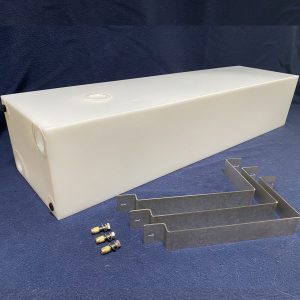
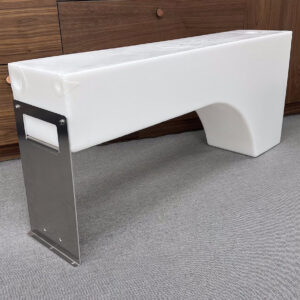
- Overall dimensions: 46″L x 8.5″H x 13″W.
- BPA Free, food grade polyethylene plastic.
- IAPMO TS-4 Certified
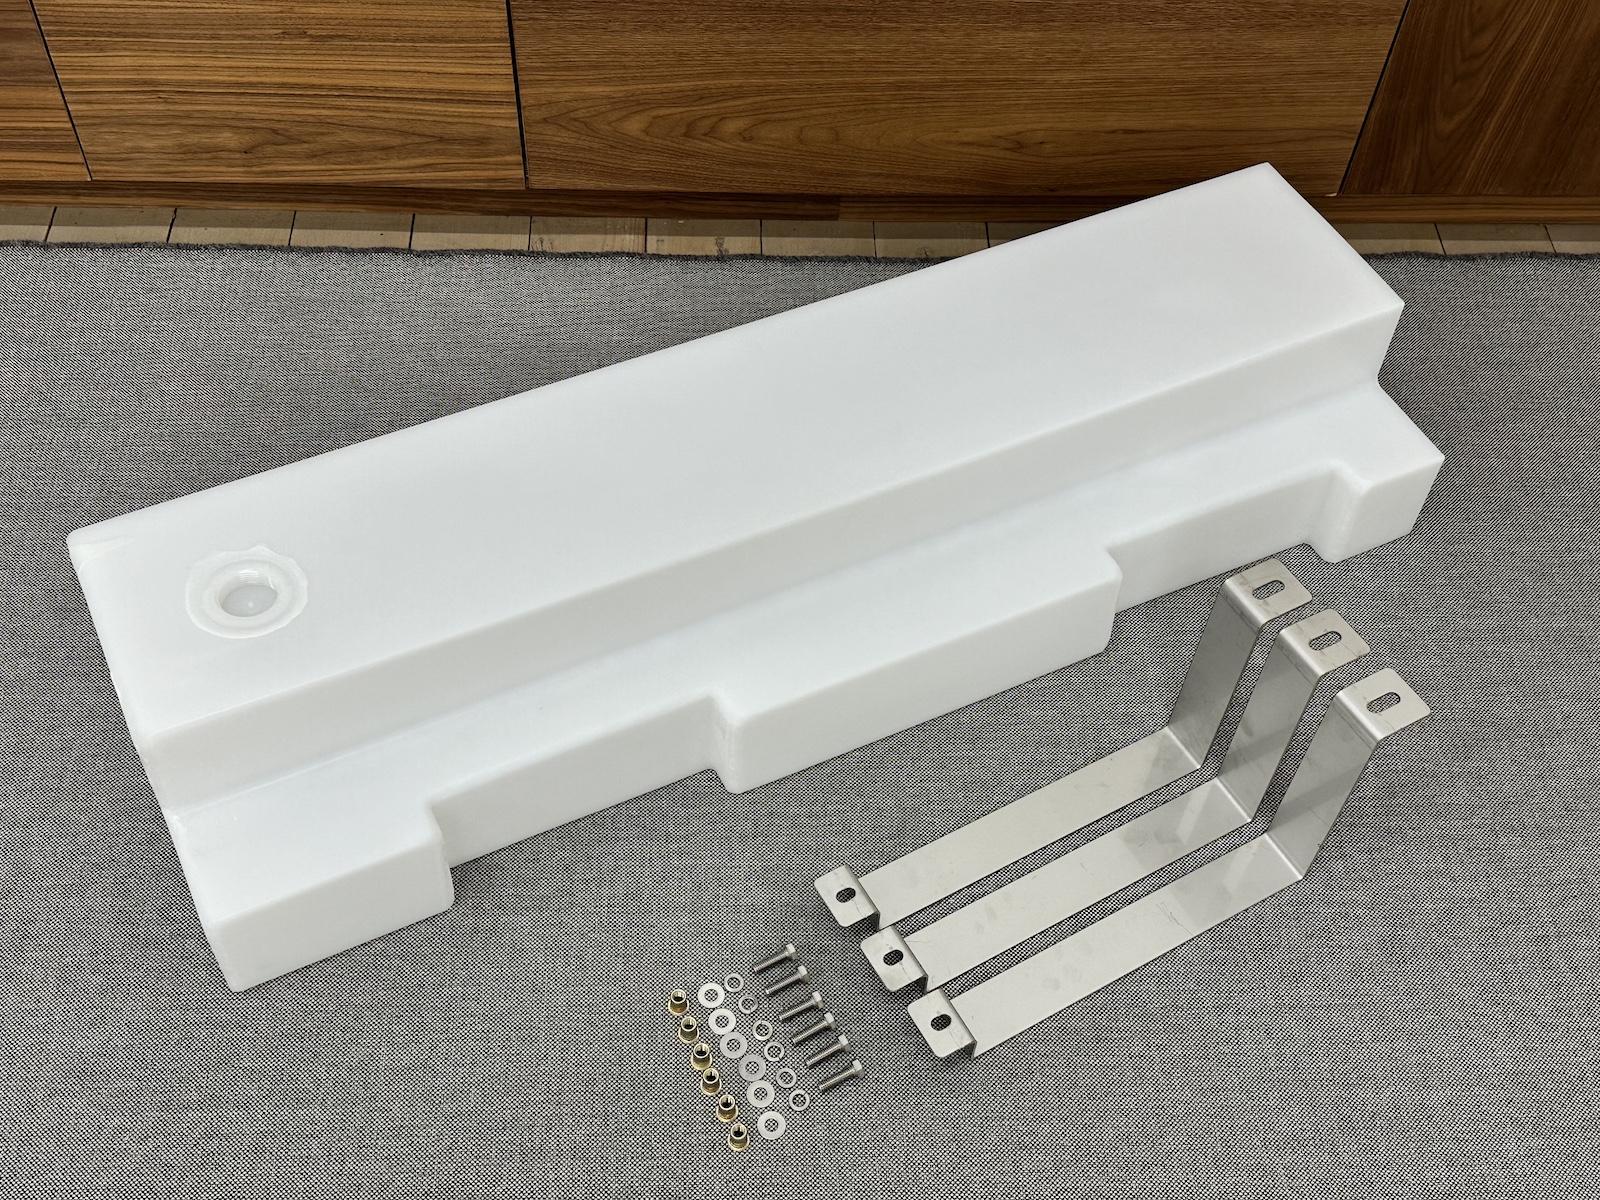
- Tank has (2) 1.5″ NPT port and (2) 1/2″ NPT ports on end that will face the rear of van.
- Tank has (1) 1.5″ NPT port on top.
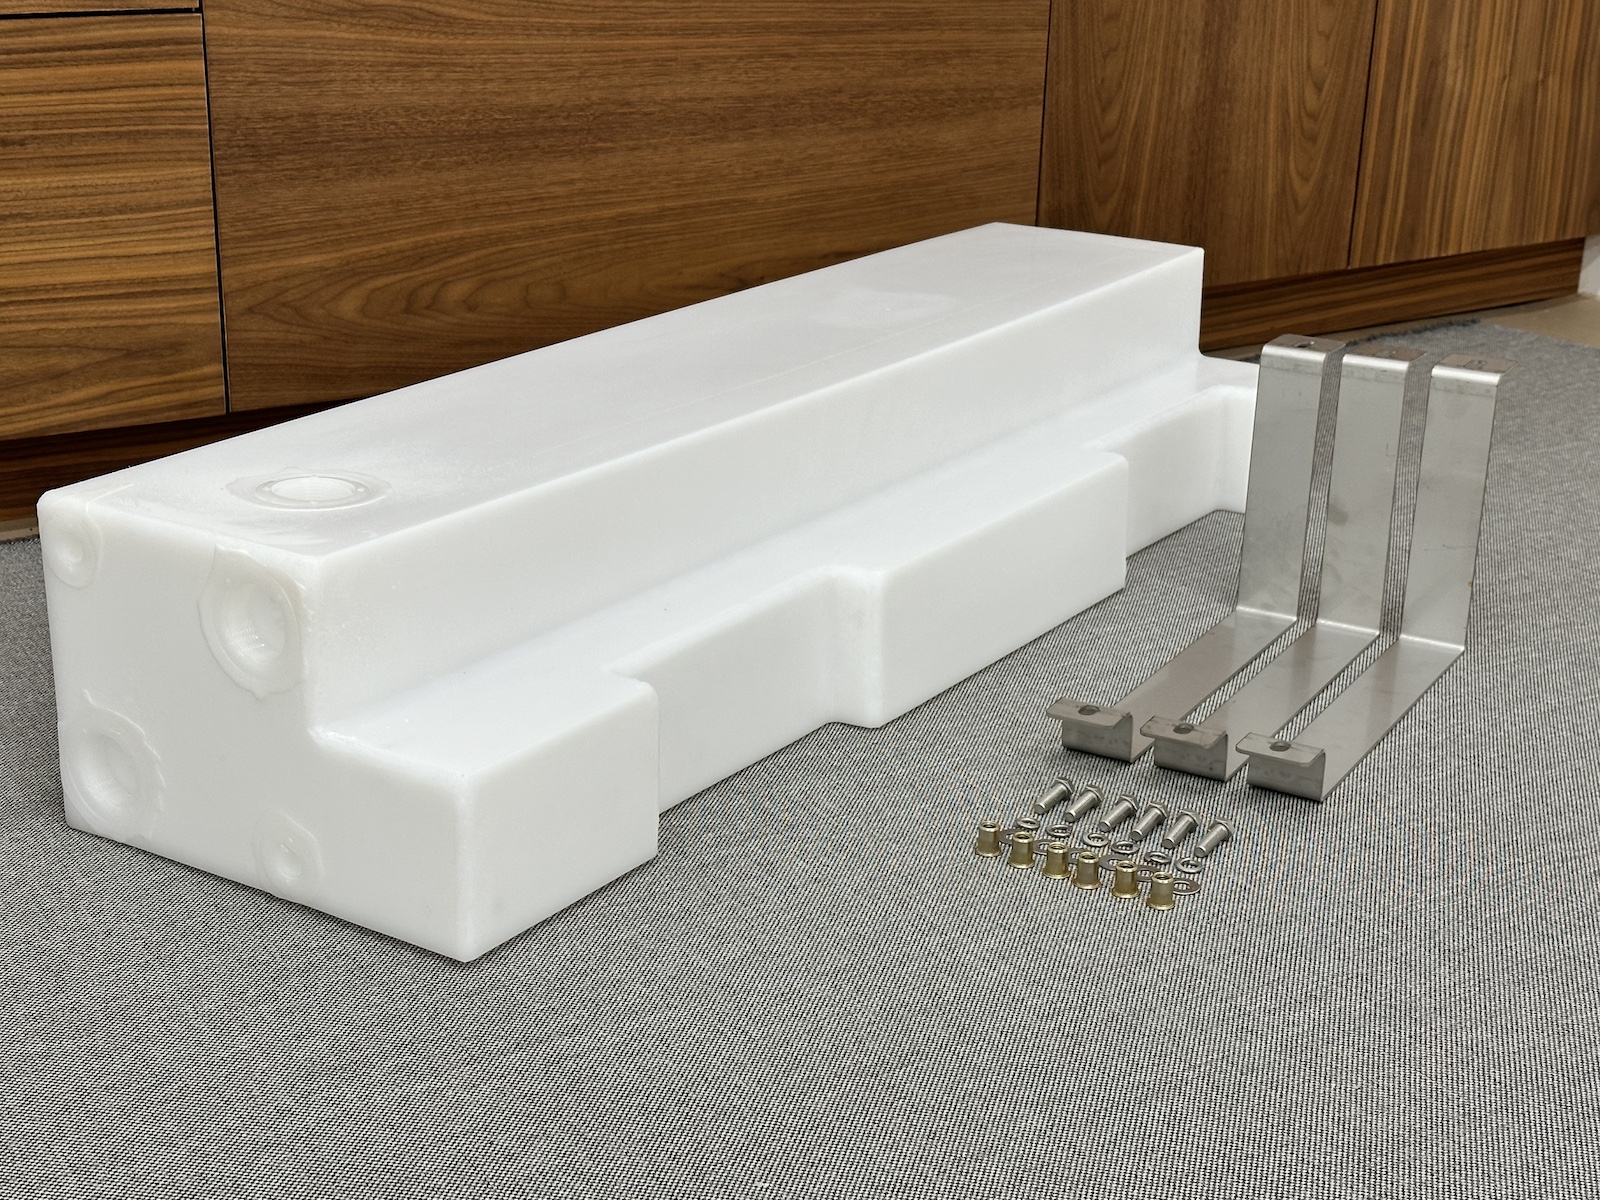
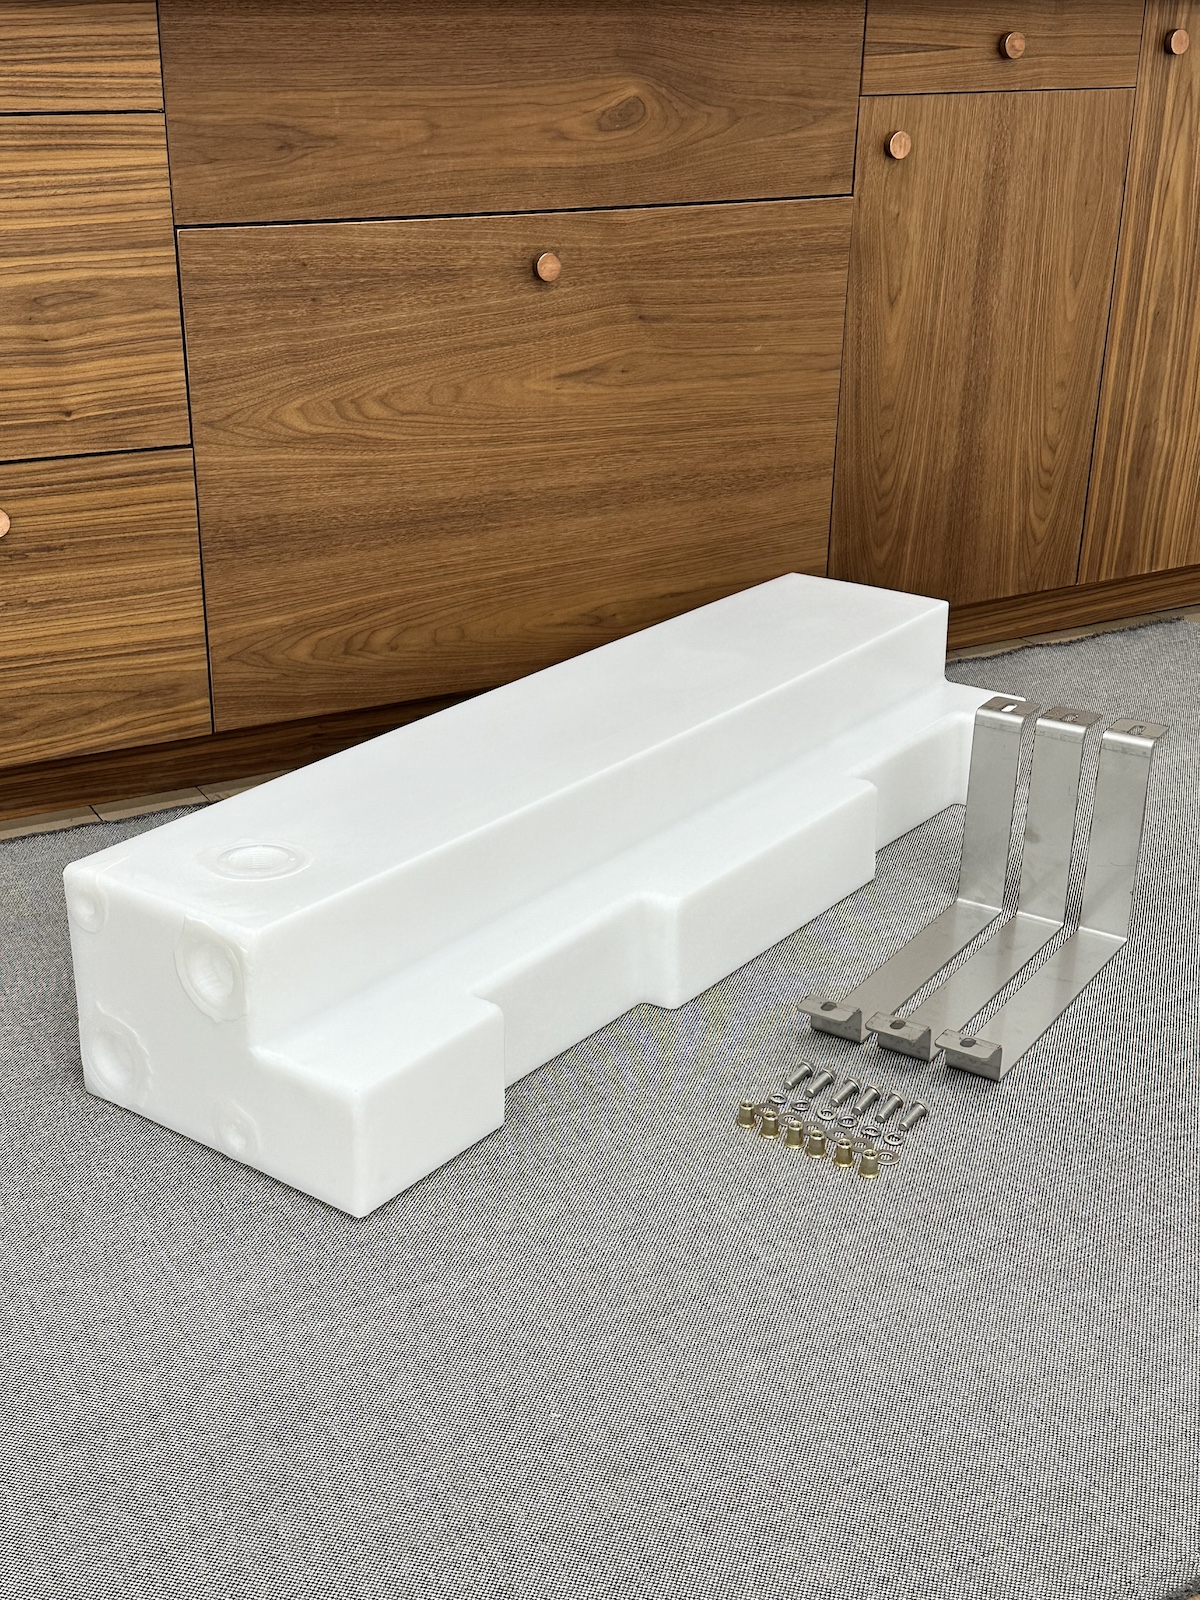
- *(3) Stainless steel Brackets, Stainless steel hardware, and rivnuts included.
- Requires drilling of (3) new holes (17/32″) for 3/8″ rivnuts near pinch weld, enlarging (2) hexagonal holes on frame and using (1) factory bolt for exhaust hanger location.
- This will require a rivnut tool.
- RETURNS are accepted up to 90 Days if the tank has not been installed or altered in any way. The tank will need to be shipped back in the box purchased in and tracking information provided. 20% restocking fee. Customer is responsible for return shipping.
- Made in the USA
The 16 Gallon Transit Van Undercarriage Water Tank is designed to fit under the van on the Passenger side under the slider door area but can also fit the driver side next to the fuel tank. (3) Stainless steel laser cut straps, 3/8″ hardware and 3/8″ rivnuts are included (Rivnut tool needed for installation not included). Tank fits Ford Transit van. It may fit other makes and models as well. Item is shipped from Bellingham Wa, 98225.
Transit TR-UC-16 Undercarriage Water Tank Mounting instructions:
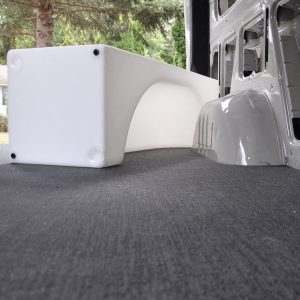
This is a quick installation of the tank with it mounted in the most forward position. You may choose to mount it in a slightly different position and adjustments to bolt locations will need to be made. Here is a picture for reference of the undercarriage looking rearward from the front of the van.
- Cut 4 bolts flush (***Only cut these bolts if you have the older TR-UC-16 tank without the cutouts. New, current model of tank with cut outs does not need to have these bolts cut as these bolts are for the running boards) to body hanging into the cavity where the tank will sit. These are underneath the pinch weld of the body as shown in the picture.
- Bend muffler shroud towards muffler rounded down towards ground. This will allow better access to bolt locations and protect the water tank from the exhaust system.
- Remove front exhaust bolt for muffler hanger. There should be a side bolt as shown in the picture that will not be removed. This bolt will be used to support the front tank bracket (2) Hexagonal holes are to be enlarged with step bit to fit the rivnut.
- Holding the tank in place with a helper, place the bracket onto the tank at these (3) mounting positions (For our tank location the straps were roughly 13.5”, 26” and 35.5” from front of tank) on the frame and mark each hole to be drilled out and rivnut installed.
- Once all the rivnuts are installed the tank can be mounted with the brackets and hardware supplied. Tighten all bolts once in place.
- Your tank is now ready for plumbing.

Additional information
| Weight | 24 lbs |
|---|---|
| Dimensions | 48 × 15 × 10 in |
7 reviews for 16 Gallon Transit Van Undercarriage Water Tank TR-UC-16
Only logged in customers who have purchased this product may leave a review.
alexandre L. (verified owner) –
This tank is a must, everything to attach the tank was included with the tank, bolted under sliding door space. I was a bit worried about muffler being 3 inches away so i installed a thin metal sheet to protect the part that original heat shield from muffler doesn’t cover. 30 minutes install tops. Plumbing is located facing rear. Perfect for my install.
John Duddy (verified owner) –
I chose the difficult path of mounting it a bit to the rear, and WITH the OEM running boards. I had to cut down one of the OEM running board brackets to the same level as the bolts they tell you to cut off, and I had to put a rivnut into a slightly different place in the rear. The rear of the tank, if you move it back like I did, sits next to a structural protrusion. I had to put my rivnut in that protrusion.
Not quite :30 minutes for me, more like 2 hours.
I recommend a 6″ or longer extension for your ratchet to get the upper bolts installed. It’s tight when the tank is in place.
John Duddy (verified owner) –
Fit perfectly. My case was a little weird (factory running boards) but I made it work. Only quibble – I wish it was longer. There is more room down there ;-}
Henry Fischer (verified owner) –
Dennis (verified owner) –
A must have
cody trapp (verified owner) –
Great tank and fits well! Tyler has always been great for help and advice.
Kevin Bernard (verified owner) –
Works as described and worked with my Owl running boards. Nice quality stuff and very nice brackets